

Your hardscape maintenance checklist at a glance
Keeping patios, walkways, retaining walls, and driveways in good shape comes down to one principle: consistent seasonal attention prevents the kind of damage that costs far more to fix than to prevent. Here is the core checklist every property owner should work through each season.
Inspection tasks:
- Check all paved surfaces for cracks, lifting, or uneven settling
- Test retaining walls for forward lean or visible movement
- Look for loose edge restraints around paver installations
- Inspect joint sand levels; refill when sand noticeably drops below the paver surface
Cleaning and debris removal:
- Sweep or blow leaves, dirt, and organic debris from all surfaces
- Power wash at low pressure, holding the tip at a safe distance to remove grime without stripping joints
- Clear corners and edges where leaves collect and stain
Weed and joint sand maintenance:
- Pull weeds by hand or treat with a biodegradable herbicide
- Top up joints with masonry or polymeric sand on dry, clean surfaces
- Dense, dry joint sand naturally inhibits weed germination and discourages ant colonisation
Drainage inspection:
- Clear debris from channel drains, French drains, and sprinkler heads
- Confirm water flows away from the base of structures, not toward them
- Check grades above retaining walls to prevent water infiltration
Pruning and shrub trimming:
- Cut back shrubs and ground cover that overhang paved surfaces
- Trim roots encroaching on paver edges or retaining wall bases
Sealing and surface protection:
- Apply sealer every 3–5 years after thorough cleaning and efflorescence removal; use a sealer matched to your surface material such as concrete paver, natural stone, or brick, and schedule sealing during dry weather for proper adhesion.
Safety precautions:
- Wear gloves and eye protection when applying cleaners or sealers
- Read all product labels before use, especially for herbicides and degreasers
- Test any cleaning solution on a small, hidden area before applying it broadly
How seasonal changes affect hardscape upkeep in Canada
Canadian weather puts hardscape through a punishing cycle. Calgary alone can swing from freezing overnight temperatures to warm afternoons within the same week in spring and fall, and that freeze-thaw action is the single biggest driver of cracking and surface deterioration. Tailoring your upkeep to each season is the most practical way to stay ahead of it.
Spring
Spring is the most important season for a thorough hardscape cleaning checklist review. After snowmelt, surfaces are often coated in residual de-icing sand, salt, and organic debris that sat under snow all winter.
- Sweep or blow all surfaces; follow with a low-pressure wash
- Remove excess de-icing salt before it draws moisture and accelerates surface wear
- Inspect every joint for sand loss caused by freeze-thaw cycles and snowmelt runoff
- Look for cracked or shifted pavers and note any edge restraints that have worked loose
- Check drainage channels for debris that accumulated over winter
Summer
Dry, warm weather makes summer the right window for the tasks that need moisture-free conditions.
- Refill joint sand while surfaces are completely dry; spread masonry sand, sweep it into joints with a push broom, and remove the excess
- Apply sealer if it is due; dry weather is critical for proper bonding
- Monitor for weed growth and pull or treat early before roots deepen
- Watch for paver shifting caused by heat expansion or tree root pressure
- Inspect retaining walls for any new forward movement or bulging
Fall
Fall is about preparing surfaces to survive winter, not just cleaning up leaves.
- Clear leaves promptly; decomposing organic matter leaves tannin stains that are difficult to remove
- Trim shrubs and surface roots near paved edges before the ground freezes
- Perform a full drainage system check to confirm water will not pool and freeze against structures
- Verify joint sand levels are adequate before freeze-thaw cycles begin
- Store or cover outdoor furniture and accessories to protect both the furniture and the surface beneath
Winter
Snow and ice removal is where the most damage happens if the wrong tools or products are used.
- Use a synthetic-blade shovel rather than steel to avoid scratching paver surfaces
- Apply sand for traction rather than salt wherever possible; use salt sparingly and only as needed
- Avoid harsh de-icing chemicals that accelerate surface wear
- After each thaw, do a quick visual scan for new cracks or shifted sections
- For Calgary properties, professional snow removal reduces the risk of surface damage from improper technique
Common hardscape problems and how to prevent them
Most hardscape damage is not sudden. It builds slowly from a handful of neglected tasks, and the Concrete Masonry and Hardscapes Association puts it plainly: routine maintenance avoids expensive restorative repairs like relaying surfaces or acid washing.
Joint sand erosion is the most common and most preventable problem. When sand drops below the paver surface, it stops acting as a structural binder. Pavers begin to shift, weeds find a foothold, and ants tunnel through the loose base. The fix is straightforward: top up joints with polymeric sand before the level drops too far. Polymeric sand hardens after wetting, creating a firm, weather-resistant joint that resists both weed growth and insect intrusion.
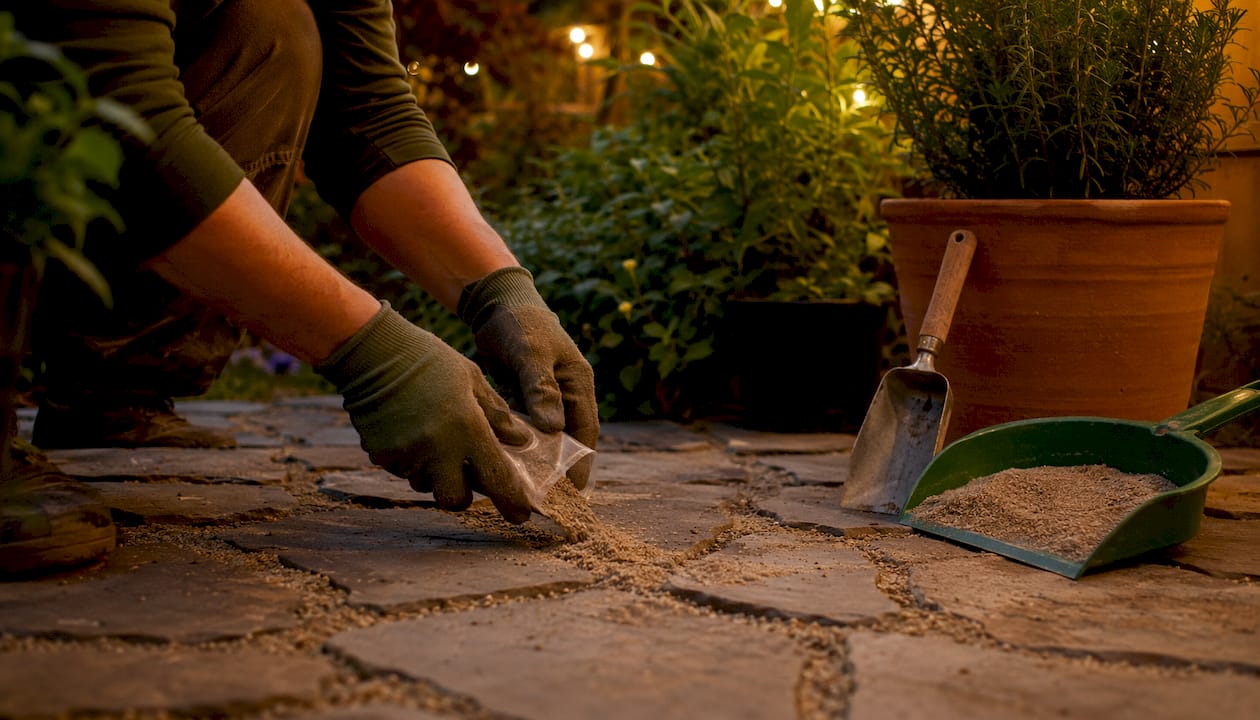
Pro Tip: Apply polymeric sand only to clean, dry pavers; moisture on the surface during application can cause a haze that bonds to the paver face and requires specific cleaning techniques.
Weed growth is widely assumed to be inevitable, but it is almost always a sign of neglected joint sand. Properly maintained joint sand acts as a natural weed barrier by denying seeds the loose soil they need to germinate. Hand removal works for occasional weeds; for persistent growth, a biodegradable spot herbicide applied carefully avoids damage to surrounding paver surfaces.
Poor drainage causes more structural damage than most owners realise. Water pooling against a retaining wall or under a paver base erodes the bedding layer, leading to sinking sections and eventual cracking. Keeping drains clear and maintaining proper grades around all structures is the most cost-effective preventive step you can take. For retaining walls specifically, water management is the primary maintenance concern: grades above the wall should direct water away, and drains at the base must remain unobstructed.
Efflorescence (the white powdery haze that appears on new concrete pavers) is a natural chemical process, not damage. It typically resolves on its own within the first few months after installation. If it persists, a specialised concrete paver cleaner removes it before sealing. Never seal over efflorescence; the sealer traps it and the discolouration becomes permanent.
For concrete driveway cracks, early intervention with an appropriate filler or professional repair prevents water from penetrating the base and widening the crack through freeze-thaw cycles. Small cracks are a weekend repair; ignored cracks become a full resurfacing project.
How to build a hardscape maintenance checklist that actually gets used
A checklist only works if it matches your actual property and gets reviewed regularly. Here is a practical process for building one that holds up over time.
Step 1: Inventory every hardscape asset. Walk the property and list every feature: patios, walkways, driveways, retaining walls, steps, fire pit surrounds, and any permeable paving. Note the material (concrete paver, natural stone, brick, wood decking) because maintenance tasks differ by surface type.
Step 2: Record current condition and maintenance history. Note any existing cracks, drainage concerns, or areas where joint sand is already low. If you have records of past sealing or repairs, log the dates. This baseline tells you what is overdue and what can wait.
Step 3: Assign tasks to seasons. Use the seasonal breakdown above as your template. Attach specific tasks to each season based on your inventory. A property with a large paver patio needs joint sand checks every spring and fall; a concrete driveway needs crack inspection after every hard freeze.
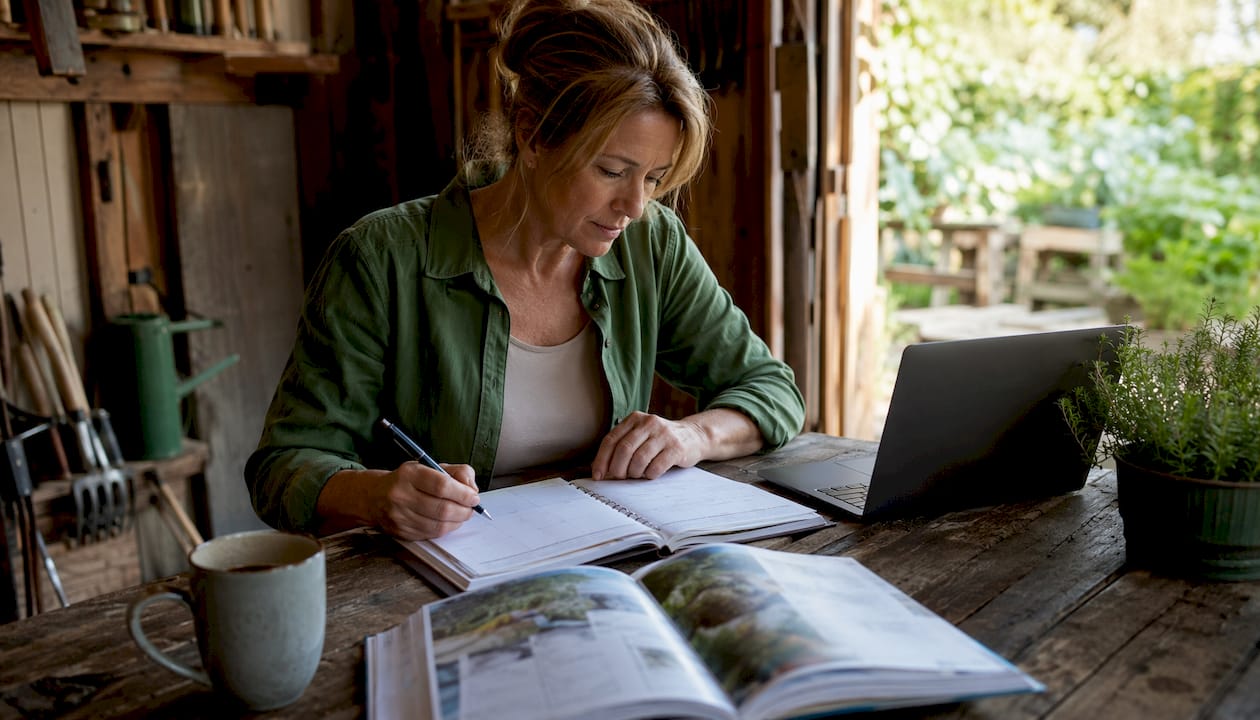
Step 4: Schedule and track completions. A simple spreadsheet with columns for task, season, date completed, and notes is enough. The goal is a record you can review annually to spot patterns, such as a drain that blocks every fall or a section of pavers that keeps shifting.
Pro Tip: Review and update your checklist every spring. Adaptive management of hardscape care means adjusting your schedule as drainage patterns change, plants grow, and surfaces age. A checklist written three years ago may not reflect what your property needs today.
Step 5: Know when to call a professional. DIY maintenance covers most routine tasks, but some situations need expert assessment: pavers that have settled more than half an inch, multiple pavers moving out of alignment, retaining walls showing forward lean, or any first-time sealer application on a large surface. Catching these early through your checklist is exactly what keeps the repair bill manageable.
For a broader view of seasonal property upkeep beyond hardscape, integrating your checklist with a full landscape maintenance guide keeps everything on one schedule.
Yearlong keeps your Calgary hardscape in shape year-round

Calgary’s climate demands more from hardscape than most Canadian cities. The freeze-thaw cycles, heavy snowfall, and short dry windows for sealing and sand work make consistent upkeep genuinely difficult to manage alone. Yearlong has been handling outdoor property care across Calgary since 2017, covering concrete cleaning and sealing, seasonal cleanup, snow removal, and bed maintenance for homeowners and property managers who want it done right without the back-and-forth.
If you want a team that already knows Calgary’s conditions and keeps your surfaces protected through every season, get in touch with Yearlong to discuss a maintenance plan that fits your property.
Key takeaways
Consistent seasonal maintenance is the single most effective way to protect hardscape surfaces from the freeze-thaw damage, joint erosion, and drainage failures that lead to costly repairs.
| Point | Details |
|---|---|
| Joint sand is structural | Refill when sand drops more than half an inch below the paver surface to prevent shifting and weed growth. |
| Sealing every 3–5 years | Professional sealing after thorough cleaning and efflorescence removal is recommended every 3 to 5 years; ensure dry weather for proper application and lasting protection. |
| Seasonal timing matters | Spring and fall inspections catch freeze-thaw damage early; summer is the right window for sealing and sand work. |
| Drainage prevents the worst damage | Clear drains and maintain grades around retaining walls to stop water from eroding the base layer. |
| Update your checklist annually | Adjust maintenance schedules each spring as drainage patterns, plant growth, and surface wear evolve. |
One Response