

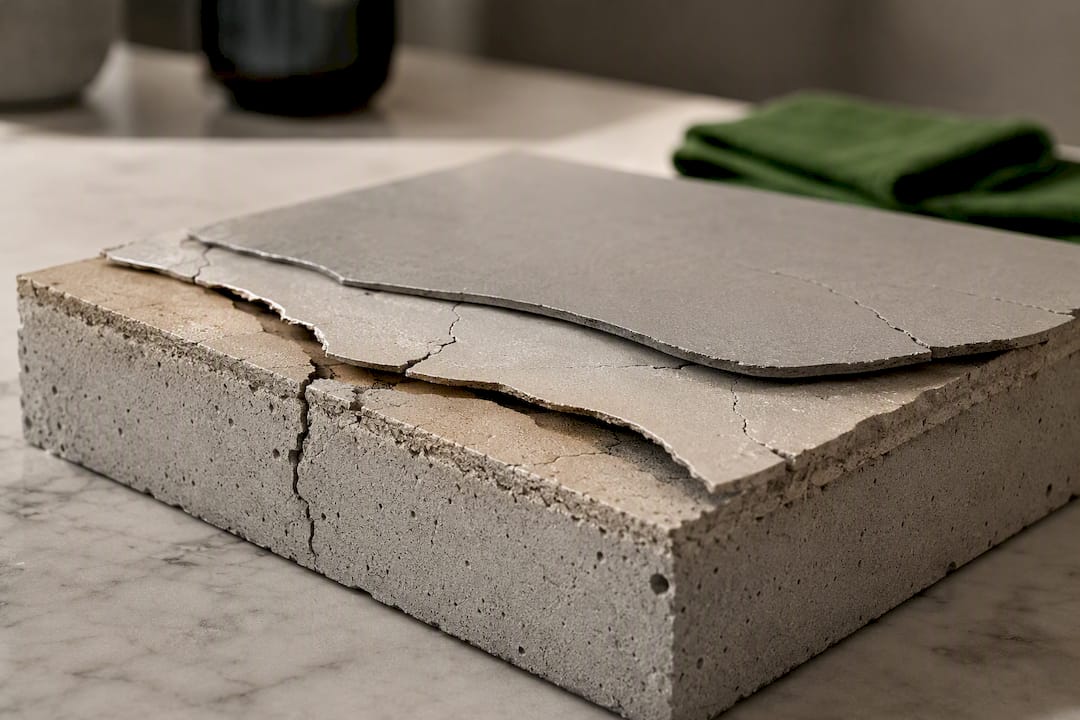
If your sealer flakes or pulls away in sheets, you need to strip it and re-prep the slab. No topcoat fixes a bond that has already failed. If the surface is only hazy or milky and the film itself is still stuck down tight, a restoration wash or emulsifier can often bring it back without a full strip, especially in cases of solvent-based sealers. Run an adhesion tape test and check the slab’s dryness before you decide anything.
TL;DR:
- Peeling sealer indicates adhesion failure and requires stripping and re-prepping the slab, especially if the tape test shows the sealer comes away easily.
- Applying the correct process, including proper surface cleaning, neutralizing, and thin coats, is essential to prevent early failure and peeling recurrence.
- Conduct the tape test multiple times and check for moisture or incomplete curing before attempting to reseal or strip the surface.
- Mechanical or chemical stripping methods have specific advantages but require careful handling, surface preparation, and neutralization to avoid damage.
- Most failures happen due to rushing application or buildup of heavy coats, not the choice of sealer brand, emphasizing proper preparation over product selection.
Table of Contents
- Why is my concrete sealer peeling?
- Restore, reseal, or strip: which one do you actually need?
- How to strip, prep, and reseal concrete the right way
- How do you stop sealer from peeling again?
- When does stripping concrete sealer call for a professional?
- What most homeowners get wrong about sealer failure
- Get your concrete sealed right the first time
- Where this guidance comes from
- Sources
Why is my concrete sealer peeling?
Peeling almost always comes down to one of two things: what happened before the sealer went down, or what happened while it was applied. Matching the symptom to the cause is the fastest way to stop guessing and start fixing.
- Whitening or blushing usually means moisture got trapped under a film that couldn’t breathe. Sealing damp concrete or applying too heavy a coat turns clear sealer milky as vapour tries to escape and can’t.
- Bubbling points to solvent or moisture trying to push out through a coat that went on too thick, or too fast, over the previous one.
- Flaking or peeling in sheets is adhesion failure, full stop. The sealer never bonded to the concrete in the first place.
- Tackiness that won’t cure signals high humidity during application or a slab that hadn’t finished curing.
The one test that cuts through all of this is the tape test. Press a strip of strong adhesive tape firmly onto the sealed surface, then rip it off fast. If sealer comes away with the tape, the bond is compromised and no amount of top-coating will save it.
Before you commit to a repair path, check the slab’s age and condition. New concrete needs roughly 28 days to cure before it can safely accept sealer. Look for white powdery efflorescence, note whether it rained recently, and if you know the sealer’s chemistry (solvent-based acrylic versus water-based, breathable versus non-breathable), factor that in too. Mixing incompatible sealer types is a quieter but common cause of failure.
Restore, reseal, or strip: which one do you actually need?
Once you know what’s causing the problem, the decision gets simple. Work through this in order:
- Strip and re-prep if the tape test pulls up sealer, or if a significant portion of the surface shows flaking. Patching over a failed bond doesn’t hold. Manufacturers are consistent on this point: re-coating a peeling sealer just gives you a second layer that will eventually peel too.
- Try restoration first if the film is only hazy or freshly bubbled but still firmly attached. A sealer re-emulsifier or a solvent wash can dissolve and redistribute a milky solvent-based film on a cool, low-humidity day, often without stripping anything.
- Add a maintenance coat if the sealer is simply worn thin but still bonded everywhere. Resist the urge to spot-treat only the worn patches. That builds up uneven layers that peel later, usually right along the edge of your touch-up.
Call in a professional when you’ve stripped and resealed the same section more than once, when you don’t know what sealer was used originally, when the failing area is large, or when you’re dealing with chemical strippers you’re not confident handling safely.
How to strip, prep, and reseal concrete the right way
Confirm you actually need to strip before you start. Run the tape test again on a few spots, and check for lingering dampness or a slab that hasn’t finished its cure window. If both come back clean and the sealer still fails the tape test, strip it.
- Choose your stripping method. A gel chemical stripper clings to vertical and sloped surfaces and lifts multiple layers without touching the concrete’s texture, but it needs dwell time and careful disposal. Mechanical options (scuffing, diamond grinding, or sandblasting) work faster on flat driveways and patios but can alter the surface profile if you’re not careful, especially on stamped or textured concrete.
- Clean first. Pressure wash with a concrete detergent to strip surface grime and grease before any stripper or grinder touches the slab.
- Strip. Apply the chemical stripper per the label, or run your mechanical equipment in overlapping passes.
- Etch if required. An acid etch opens up the concrete’s pores so the new sealer has something to grip.
- Neutralize. This step gets skipped constantly, and it’s the reason repairs fail a second time. Residual acid left on the slab after etching actively fights adhesion, even through a fresh coat of sealer.
- Rinse thoroughly, then let the slab dry completely. Don’t guess. Tape a small square of plastic sheeting down overnight; condensation underneath means it’s not ready.
- Run the adhesion test one more time on a scrap area before committing to the whole surface.
- Apply sealer in two thin coats, following the coverage rate on the manufacturer’s technical data sheet, rather than one heavy coat. Skip direct sun and skip any day where dew point conditions are likely.
Pro Tip: If you’re not sure whether standing water near the slab is coming from rain or a hidden leak, check your outdoor spigots and hose bibs first. A slow leaking spigot can keep a section of concrete perpetually damp, and no sealer will hold up to constant moisture from below.
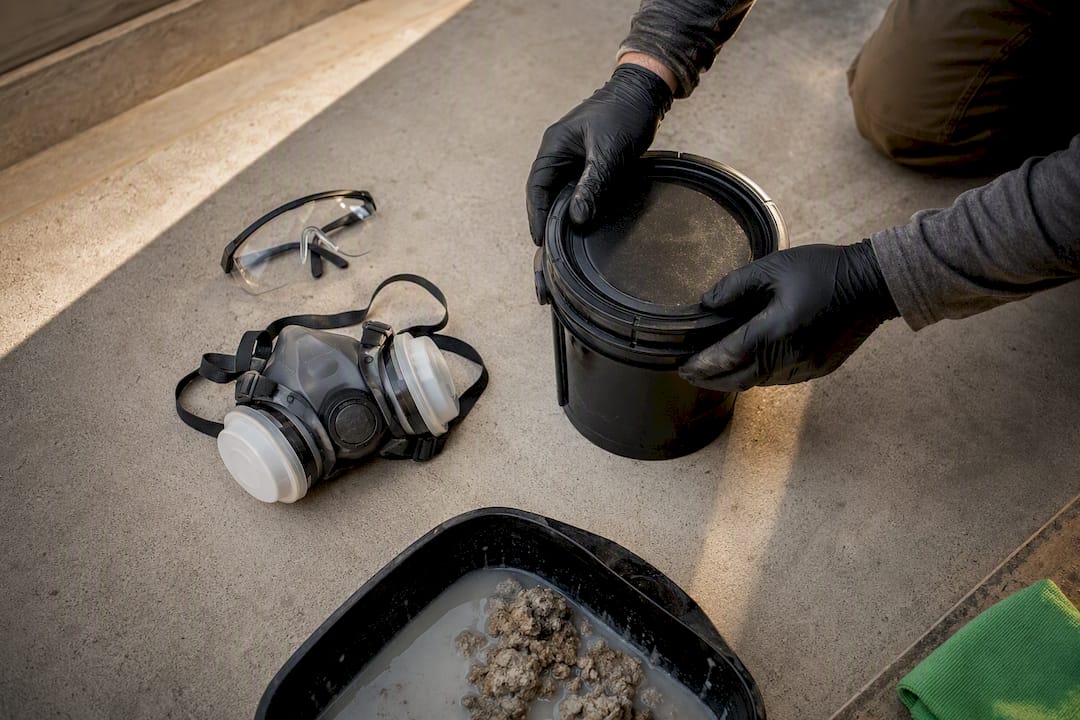
Wear gloves, eye protection, and a respirator rated for solvents when you’re working with chemical strippers, and dispose of the residue according to your municipality’s hazardous waste rules rather than rinsing it into a storm drain.
How do you stop sealer from peeling again?
Most repeat failures trace back to two habits: rushing the coverage rate and rushing the timeline.
- Follow the technical data sheet for your specific product. Coverage rates and recoat windows vary between brands, and eyeballing it is how you end up with a heavy film that traps solvent underneath.
- Two thin coats beat one thick one, every time. A heavy single application is one of the most common causes of blistering.
- Give new concrete its full 28 days before sealing, and confirm the slab is dry with a moisture test rather than a guess based on how many sunny days you’ve had.
- Reseal acrylic topcoats roughly every one to three years, depending on foot and vehicle traffic and how harsh your climate runs. Check driveway sealer lifespan expectations before assuming your last coat should still be holding.
- Skip spot treatments. Resealing only the worn tire tracks or high-traffic patches creates a visible line of uneven buildup that peels first.
- Watch your seasonal windows. Sealing right before a freeze/thaw cycle traps whatever moisture is still working its way out, and winter salt applications can degrade a sealer’s surface over a season or two if it wasn’t fully cured before the first snowfall.
When does stripping concrete sealer call for a professional?
Chemical strippers and etching solutions aren’t forgiving of guesswork. Get the dwell time wrong, skip the neutralizing step, or use the wrong stripper on a dyed or stamped surface, and you can permanently damage the concrete’s colour or texture underneath. That’s the real argument for hiring it out on anything beyond a small patio slab: controlled chemical handling, even removal across the whole surface, and no gouges from an overly aggressive grinder pass.
When Yearlong evaluates a failing sealer, the process starts the same way this guide does: an adhesion tape test across several spots, a check for lingering moisture or efflorescence, and a look at how the concrete has aged since it was last sealed. That tells us whether a restoration wash will hold or whether the job needs a full strip and reseal, before any chemical touches your driveway.
Homeowners in Calgary dealing with a large peeling patio or a driveway that’s failed more than once usually get more value from that kind of assessment than from another round of trial-and-error products.
What most homeowners get wrong about sealer failure
The biggest mistake isn’t a skipped step in the prep sequence. It’s the instinct to add another coat when the current one looks bad. Peeling sealer is a symptom of a bond that already failed, and another layer on top of a failed bond just gives you a second failure to deal with later, usually faster than the first.
Conventional advice online leans hard on product recommendations, as though the right brand of sealer prevents peeling on its own. Chemistry matters less than most people think next to two boring fundamentals: whether the slab was actually dry and cured before the first drop went down, and whether the applicator put on two thin coats instead of one heavy one. Get those two things right and the specific sealer brand becomes a secondary decision.
If you take one thing from this guide, make it the tape test. It costs nothing, takes thirty seconds, and it’s the difference between a homeowner who strips a slab that only needed a restoration wash, and one who wastes a maintenance coat on a bond that was never going to hold.
— Lewie
Get your concrete sealed right the first time
Stripping a failed sealer and re-prepping the slab is not a weekend project most homeowners want to repeat twice. A practical alternative to trial-and-error DIY fixes for Calgary driveways and patios involves running the same adhesion and moisture checks covered in this guide before making recommendations, so you’re not paying for a strip job you didn’t need or a maintenance coat that won’t hold.

A service visit can include an inspection of the current sealer’s condition, a tape test where flaking is visible, a written recommendation on whether the surface needs restoration, a full strip and reseal, or simply a maintenance coat, and the work itself potentially backed by a satisfaction guarantee. If your driveway or patio in Calgary is showing whitening, bubbling, or flaking sealer this season, check out Yearlong’s concrete sealing service and get a straight answer before you buy another can of sealer.
Where this guidance comes from
The diagnostic steps and repair sequence in this guide draw on manufacturer troubleshooting bulletins covering blushing, trapped moisture, and stripping methods, along with practical solvent handling and PPE guidance. For cure timing and moisture testing specific to Calgary’s climate, see Yearlong’s guide on when to seal new concrete.
Sources
- How to Fix a Failed Concrete Sealer (Peeling & Blushing)
- Diagnosing 5 Common Concrete Sealer Problems
- How to Fix Concrete Sealer: Cloudy, Bubbles, Peeling or Worn
One Response